Everybody has this moment eventually.
You stand in a room staring at old wallpaper from 1987 with a paint roller in your hand doing mental math.
"If I just paint over it… I could be done by Sunday."
And honestly? Sometimes that works.
Sometimes it turns into a bubbling, peeling nightmare that costs thousands more to fix later.
We've seen both across Bastrop, Smithville, and older homes around Austin.
If you've been wondering whether painting over wallpaper is actually a good idea, here's the honest answer: sometimes yes, sometimes absolutely not.
The difference usually comes down to four or five details most homeowners don't know to check.
The Short Honest Answer
Yes. You can paint over wallpaper.
But only under the right conditions.
And honestly, this is where a lot of DIY videos online get misleading.
Because technically possible and actually smart are not always the same thing.
We've walked into homes where painted wallpaper still looked great after 10 years.
We've also seen walls start bubbling six months later because moisture from the paint reactivated old adhesive underneath.
The scary part?
You usually don't know which situation you're dealing with until the paint is already on the wall.
The 4 Green Lights — When Painting Over Wallpaper Is Usually Fine
These are the situations where painting over wallpaper can actually work well.
Not perfectly.
But well enough to last.
1. The Wallpaper Is Firmly Attached Everywhere
This matters more than anything else.
If the wallpaper is already peeling, bubbling, lifting at seams, or making crackling sounds when pressed… stop there.
Paint will not fix failing adhesive.
It usually makes it worse.
Quick test: Press your palm flat against different areas of the wall.
If you feel movement underneath or hear crinkling sounds, the paper is already separating from the wall.
That's removal territory.
No question.
We looked at a home near Bastrop last year where the homeowner had already painted one coat over loose wallpaper before calling us.
At first it looked okay.
Three weeks later the seams started lifting like little ridges across the entire dining room wall.
The adhesive underneath had completely failed once moisture hit it.
2. It's Only One Layer of Wallpaper
Older homes love surprises.
Especially homes built in the 60s, 70s, and 80s.
You remove one corner and suddenly discover:
- floral wallpaper
- underneath striped wallpaper
- underneath another layer
- underneath newspaper backing somehow
Seriously. We've seen this.
Painting over multiple wallpaper layers almost always fails eventually because the bottom adhesive layers start loosening over time.
And once one layer moves, everything above it moves too.
That's when you get bubbling paint, soft spots, and seams showing through.
Honestly, if you discover multiple wallpaper layers, removal is usually the smarter long-term decision.
Even if it takes longer upfront.
3. The Wallpaper Isn't Vinyl or Textured
This is another huge one people miss.
Smooth paper wallpaper? Potentially workable.
Vinyl wallpaper? Usually a bad idea.
Textured wallpaper? Almost always looks bad after painting.
Here's why:
- vinyl resists paint adhesion
- textured surfaces show through every coat
- embossed patterns become weird shadows once painted
One homeowner near Georgetown painted directly over shiny vinyl wallpaper in a hallway because TikTok convinced her primer would "cover anything."
The paint literally beaded up like water on plastic.
Ended up needing full removal anyway.
Which meant:
- wasted primer
- wasted paint
- wasted weekend
- then paying for removal afterward
That project cost almost double what proper prep would've.
4. You're Using Oil-Based Primer First
Look, here's the truth.
This is the step DIYers skip most often.
And it's the step that decides whether the project survives.
Water-based latex primer can reactivate old wallpaper adhesive because of the moisture content.
Oil-based primer seals the wallpaper instead.
That's why professional painters usually use products like:
- Zinsser Cover Stain
- BIN Shellac
- other oil-based bonding primers
Not cheap.
But cheaper than repainting the room twice.
A gallon of quality oil primer usually runs around $45–$70 in Texas right now.
Worth every dollar on wallpaper projects.
The 4 Red Flags — When You Really Should Remove the Wallpaper
Honestly, some walls should never be painted over.
No matter how tempting the shortcut feels.
1. Bathrooms, Kitchens, and Laundry Rooms
Humidity changes everything.
Steam slowly gets behind the wallpaper over time.
And once moisture starts reaching old adhesive, bubbling usually follows.
Painting over wallpaper in a bathroom might look fine for:
- 3 months
- maybe 6 months
- occasionally a year
Then suddenly seams start lifting near the ceiling or around corners.
Especially in Texas humidity.
One bathroom in Smithville looked completely normal during winter.
By August the walls had bubbles everywhere around the shower area.
The wallpaper underneath had basically detached from the drywall.
2. Wallpaper Installed in the 1960s–1980s
Older wallpaper adhesive ages badly.
Especially cheaper glue formulas used decades ago.
Sometimes the wallpaper survives painting initially… then slowly starts releasing months later under the weight of the paint itself.
And now instead of removing wallpaper, you're removing:
- wallpaper
- primer
- paint
- damaged drywall paper
All together.
That repair gets ugly fast.
And expensive.
3. You Can Already See Seams or Damage
Paint does not hide wallpaper problems.
Usually it highlights them.
Visible seams become more visible after paint.
Small bubbles become larger bubbles.
Old repairs telegraph through the finish coat.
And honestly, glossy paint makes this even worse because light catches every imperfection.
If the wall already looks rough before painting, it usually looks rougher afterward.
4. You Plan to Sell the House Soon
This surprises homeowners.
Buyers notice painted wallpaper constantly.
So do inspectors.
Especially in older Central Texas homes.
Sometimes it doesn't kill a sale. But it absolutely becomes negotiation leverage.
We've seen buyers request:
- repaint credits
- drywall repair credits
- wallpaper removal discounts
Because they assume hidden wall problems underneath.
And honestly… sometimes they're right.
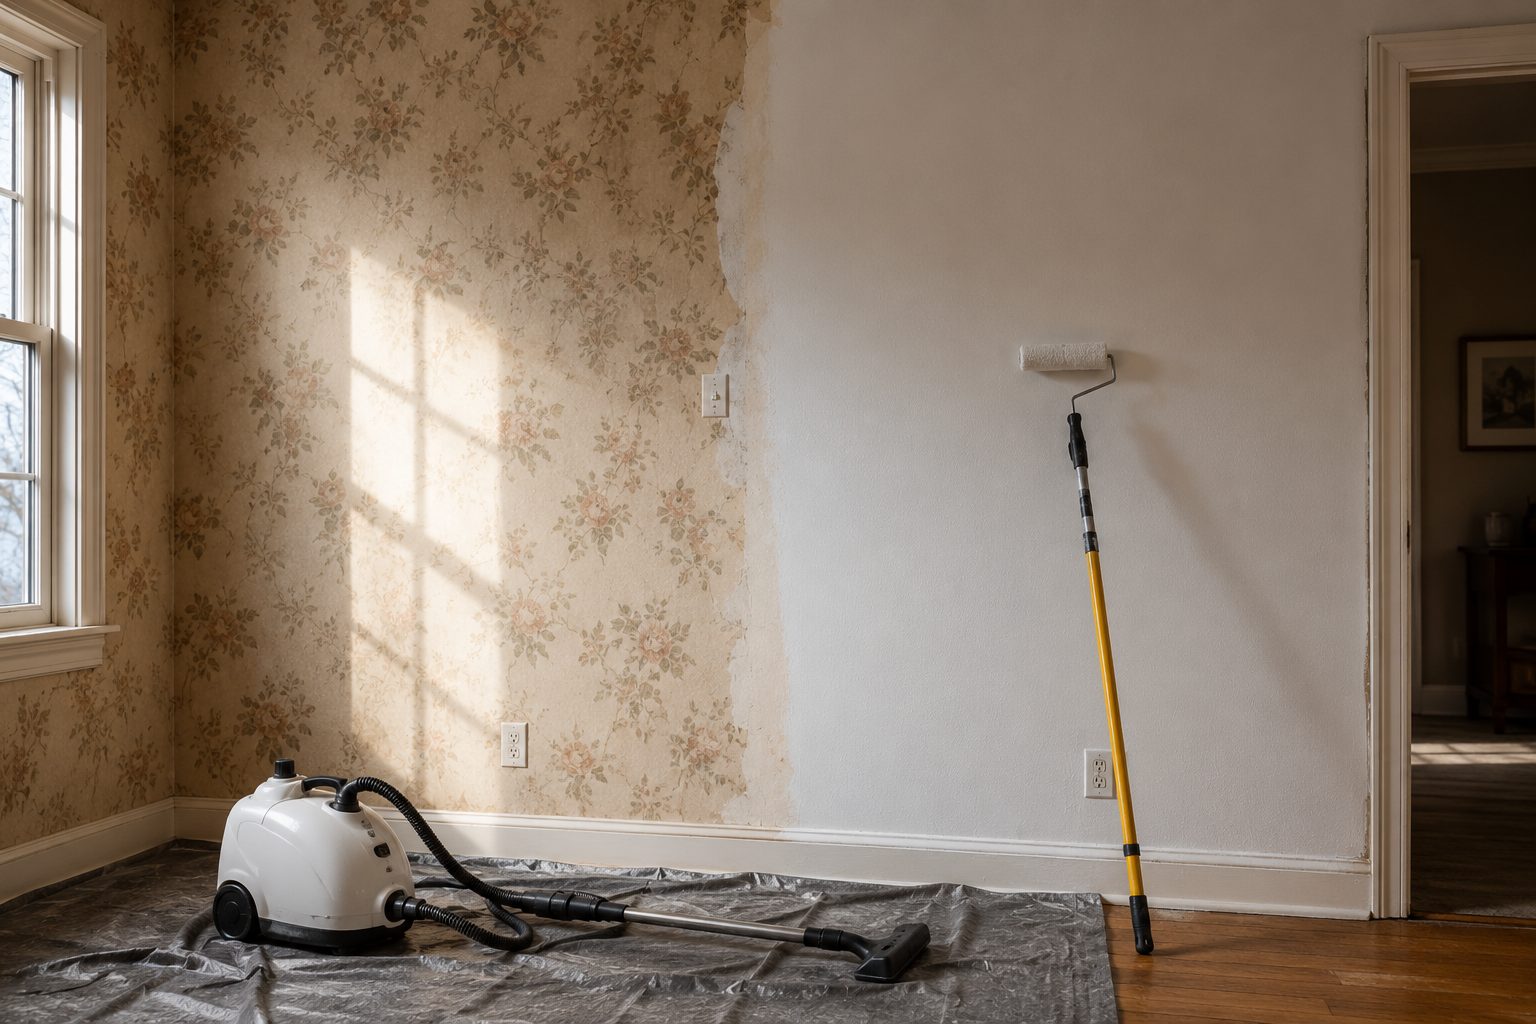
How to Paint Over Wallpaper the Right Way
If you're going to do this, do it properly the first time.
Skipping prep is what destroys these projects.
Step 1 — Inspect Every Inch
Press the walls. Listen for crackling. Check corners and seams.
Re-glue any lifting edges with wallpaper seam adhesive.
Then let it dry fully.
Usually 24 hours minimum.
Not overnight for "probably good enough."
Fully dry.
Step 2 — Fix the Seams
This step matters more than homeowners think.
Use lightweight joint compound over visible seams.
Thin coat only.
Then sand smooth once dry.
Otherwise the seam lines stay visible forever after painting.
Especially with sunlight hitting the wall sideways during afternoon hours.
That's when every flaw suddenly appears.
Step 3 — Clean the Walls Thoroughly
Old wallpaper holds years of:
- dust
- cooking grease
- smoke residue
- hairspray
- hand oils
Seriously.
Kitchen wallpaper can get disgusting once cleaned properly.
Use:
- microfiber cloths
- degreaser
- warm water
And let the walls dry completely before priming.
Step 4 — Prime With Oil-Based Primer
Not optional.
This is the step holding the entire project together.
One full coat usually works if applied properly.
Most DIY paint-over failures happen because homeowners skip oil primer and go straight to latex paint.
The wall looks fine initially.
Then problems show up later.
Usually after humidity changes.
Step 5 — Paint Carefully
Once the primer fully cures, then paint.
Two lighter coats usually work better than one heavy coat.
And honestly? Use less roller pressure than normal.
Aggressive rolling can start lifting wallpaper seams underneath.
Slow and steady works better here.
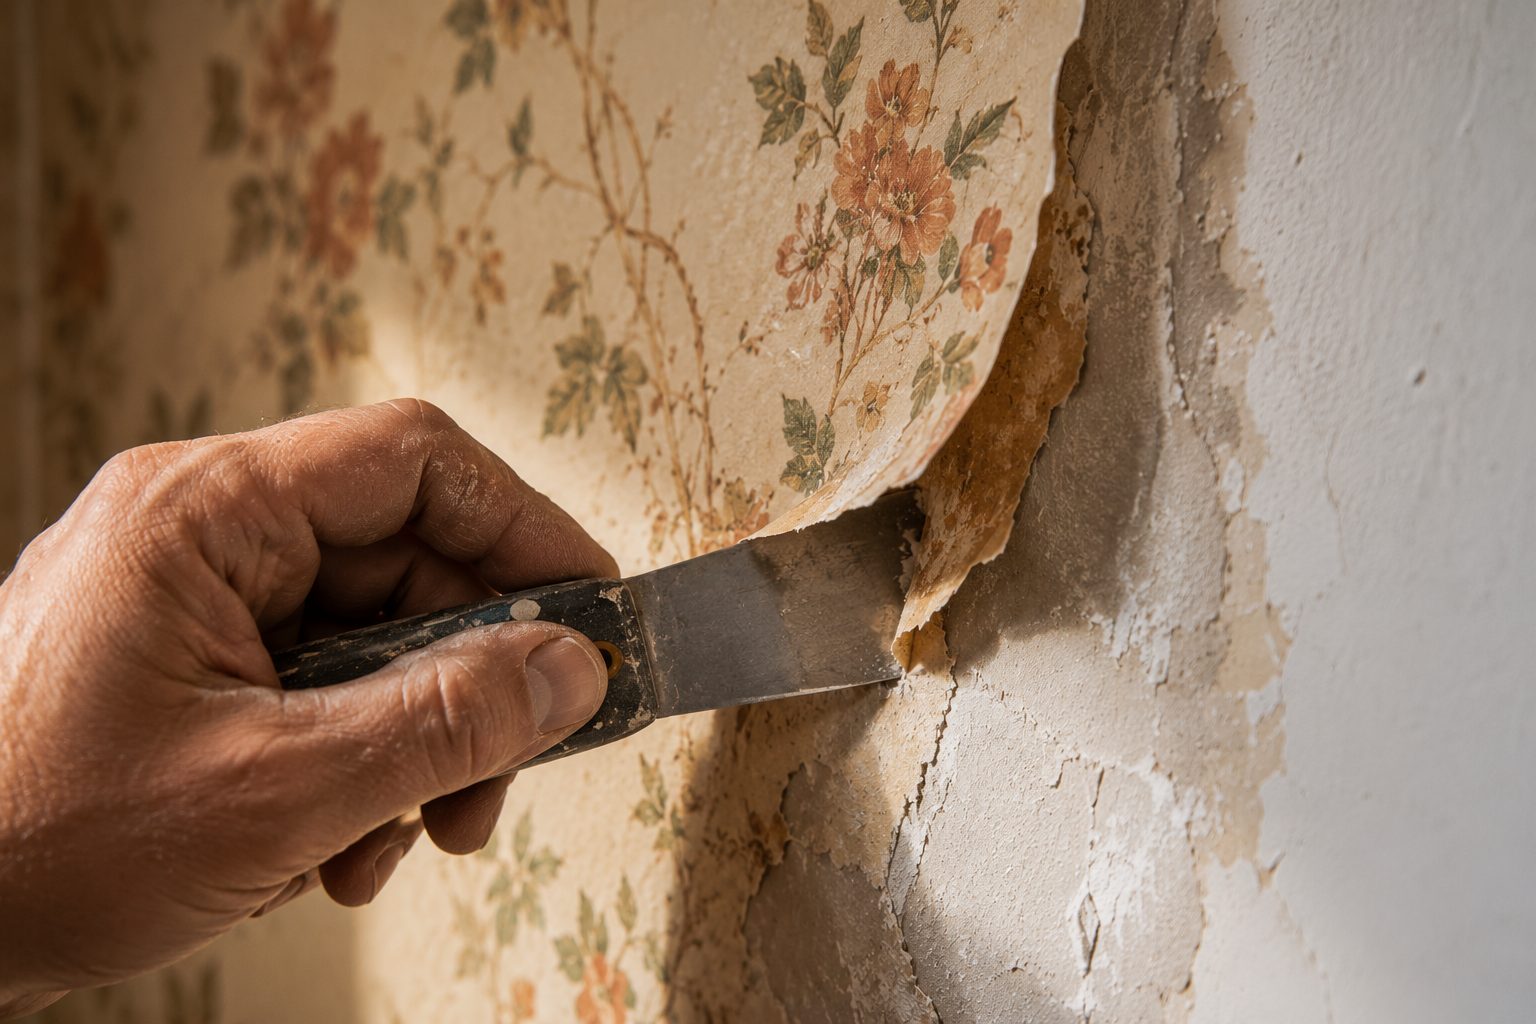
When Wallpaper Removal Is Actually the Smarter Option
Look, here's the truth.
Sometimes removal is simply the better decision.
Especially long-term.
The process usually goes like this:
- Score the wallpaper lightly
- Spray warm water + vinegar mixture
- Let moisture soak in 15–20 minutes
- Remove paper carefully with a putty knife
- Scrub leftover adhesive
- Skim coat damaged areas
- Prime and paint normally
It's messy.
No question.
But once it's done, the wall is permanently fixed instead of temporarily covered.
And honestly, a lot of homeowners say the anticipation was worse than the actual removal process.
The Biggest Wallpaper Removal Mistake
People get impatient.
That's usually what damages drywall.
They start aggressively scraping dry wallpaper because they want the room finished faster.
Bad idea.
One homeowner near Bastrop gouged deep grooves across almost every wall in a bedroom trying to remove dry wallpaper with a stiff metal scraper.
The wallpaper eventually came off.
So did chunks of drywall paper.
Repairing the walls afterward cost around $850 because skim coating became necessary across the entire room.
The original removal itself would've been much cheaper if done slowly.
What This Usually Costs in Central Texas
Real numbers help here because homeowners usually underestimate wallpaper projects.
Typical costs around Bastrop County:
- DIY paint-over project: around $80–$150 in materials
- DIY removal + repaint: usually $100–$250 plus a full weekend or two
- Professional wallpaper removal + painting for average bedroom: roughly $600–$1,200
- Large textured wallpaper removal projects: sometimes $2,000+
And honestly, the expensive jobs are usually the ones where somebody already tried the shortcut first.
Because now contractors are fixing:
- failed paint
- damaged drywall
- adhesive residue
- bubbling seams
- uneven wall texture
Twice the labor.
So… Should You Paint Over Wallpaper?
Honestly?
If the wallpaper is:
- smooth
- fully attached
- non-vinyl
- dry
- in a low-humidity room
…painting over it can absolutely work.
But if the wallpaper is:
- peeling
- textured
- vinyl-coated
- old and brittle
- in bathrooms or kitchens
Removal is usually the smarter move.
Even if it's more work upfront.
Future-you will probably be happier.
Need a Professional Opinion Before You Start?
At Rinelli Services, we do painting and wallpaper evaluations across Bastrop, Smithville, Austin, and nearby Central Texas areas.
Usually we can tell within about 10 minutes whether:
- the wallpaper is safe to paint over
- or whether removal will save money long-term
No fake upsells.
No dramatic "your walls are ruined" speech.
Just honest answers from people who've actually peeled this stuff off hundreds of times.
Most weeks we can schedule same-week walkthroughs in Bastrop and nearby areas.
Call us at (512) 907-0702 or visit our painting services page to get a quote. You can also send us a message if you'd rather start there.